Note: This is pre-InstantOS 4.2
I used to do my site surveys with a lightweight AP and a small controller. I have since moved to IAPs. Once you get the initial setup done, you can just power it up and go at each survey point. Here are the steps:
- Connect a console cable to the CONSOLE port of the IAP and connect to your laptop
- Open up your Telnet/SSH client and start a session on the necessary COM port
- Connect the Data In port of the injector to the ethernet port of your laptop
- You do this because the the IAP will NOT broadcast the “Instant” SSID without an uplink in the beginning.
- Connect the Power + Data Out port of the injector to the ENET0 port of the IAP
- Once the AP starts booting, start pressing the Enter key over and over until you see “apboot>”
- You can wait until you see “Hit <Enter> to stop autoboot”, but you only have a couple of seconds once that shows up and it doesn’t hurt anything to start pressing Enter right away.
- You need to set a static address for the IAP to stay up (it needs either static or DHCP). Follow these steps to set a static address on the IAP
- Once the address is assigned, type “boot” and press Enter
- A few minutes after the IAP is fully booted, you will see the “Instant” SSID broadcasting. Connect the SSID and navigate to https://instant.arubanetworks.com
- Default login is admin/admin
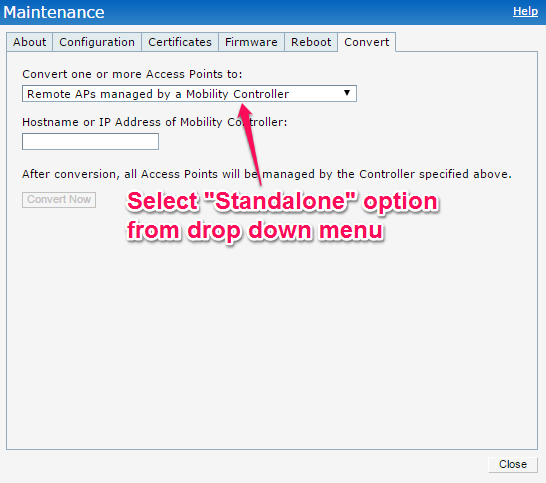
- Once in the GUI, click “Maintenance” in the top-right corner to convert the IAP to Standalone mode (This configures the IAP to not look for other IAPs/Virtual Controllers):
- After converting to Standalone, create a new network:
- In the WLAN Settings tab, click “Show advanced options”:
- Uncheck the “Disable SSID on uplink failure” box:
- Then go through the rest of the steps programming your WLAN
- After setting up the new network, click on “RF” in the top-right corner and configure your RF settings (These settings keep the radio from making too many dynamic changes during your survey):
- Once those changes are done, reboot the IAP and you should see your new survey SSID show up after a few minutes


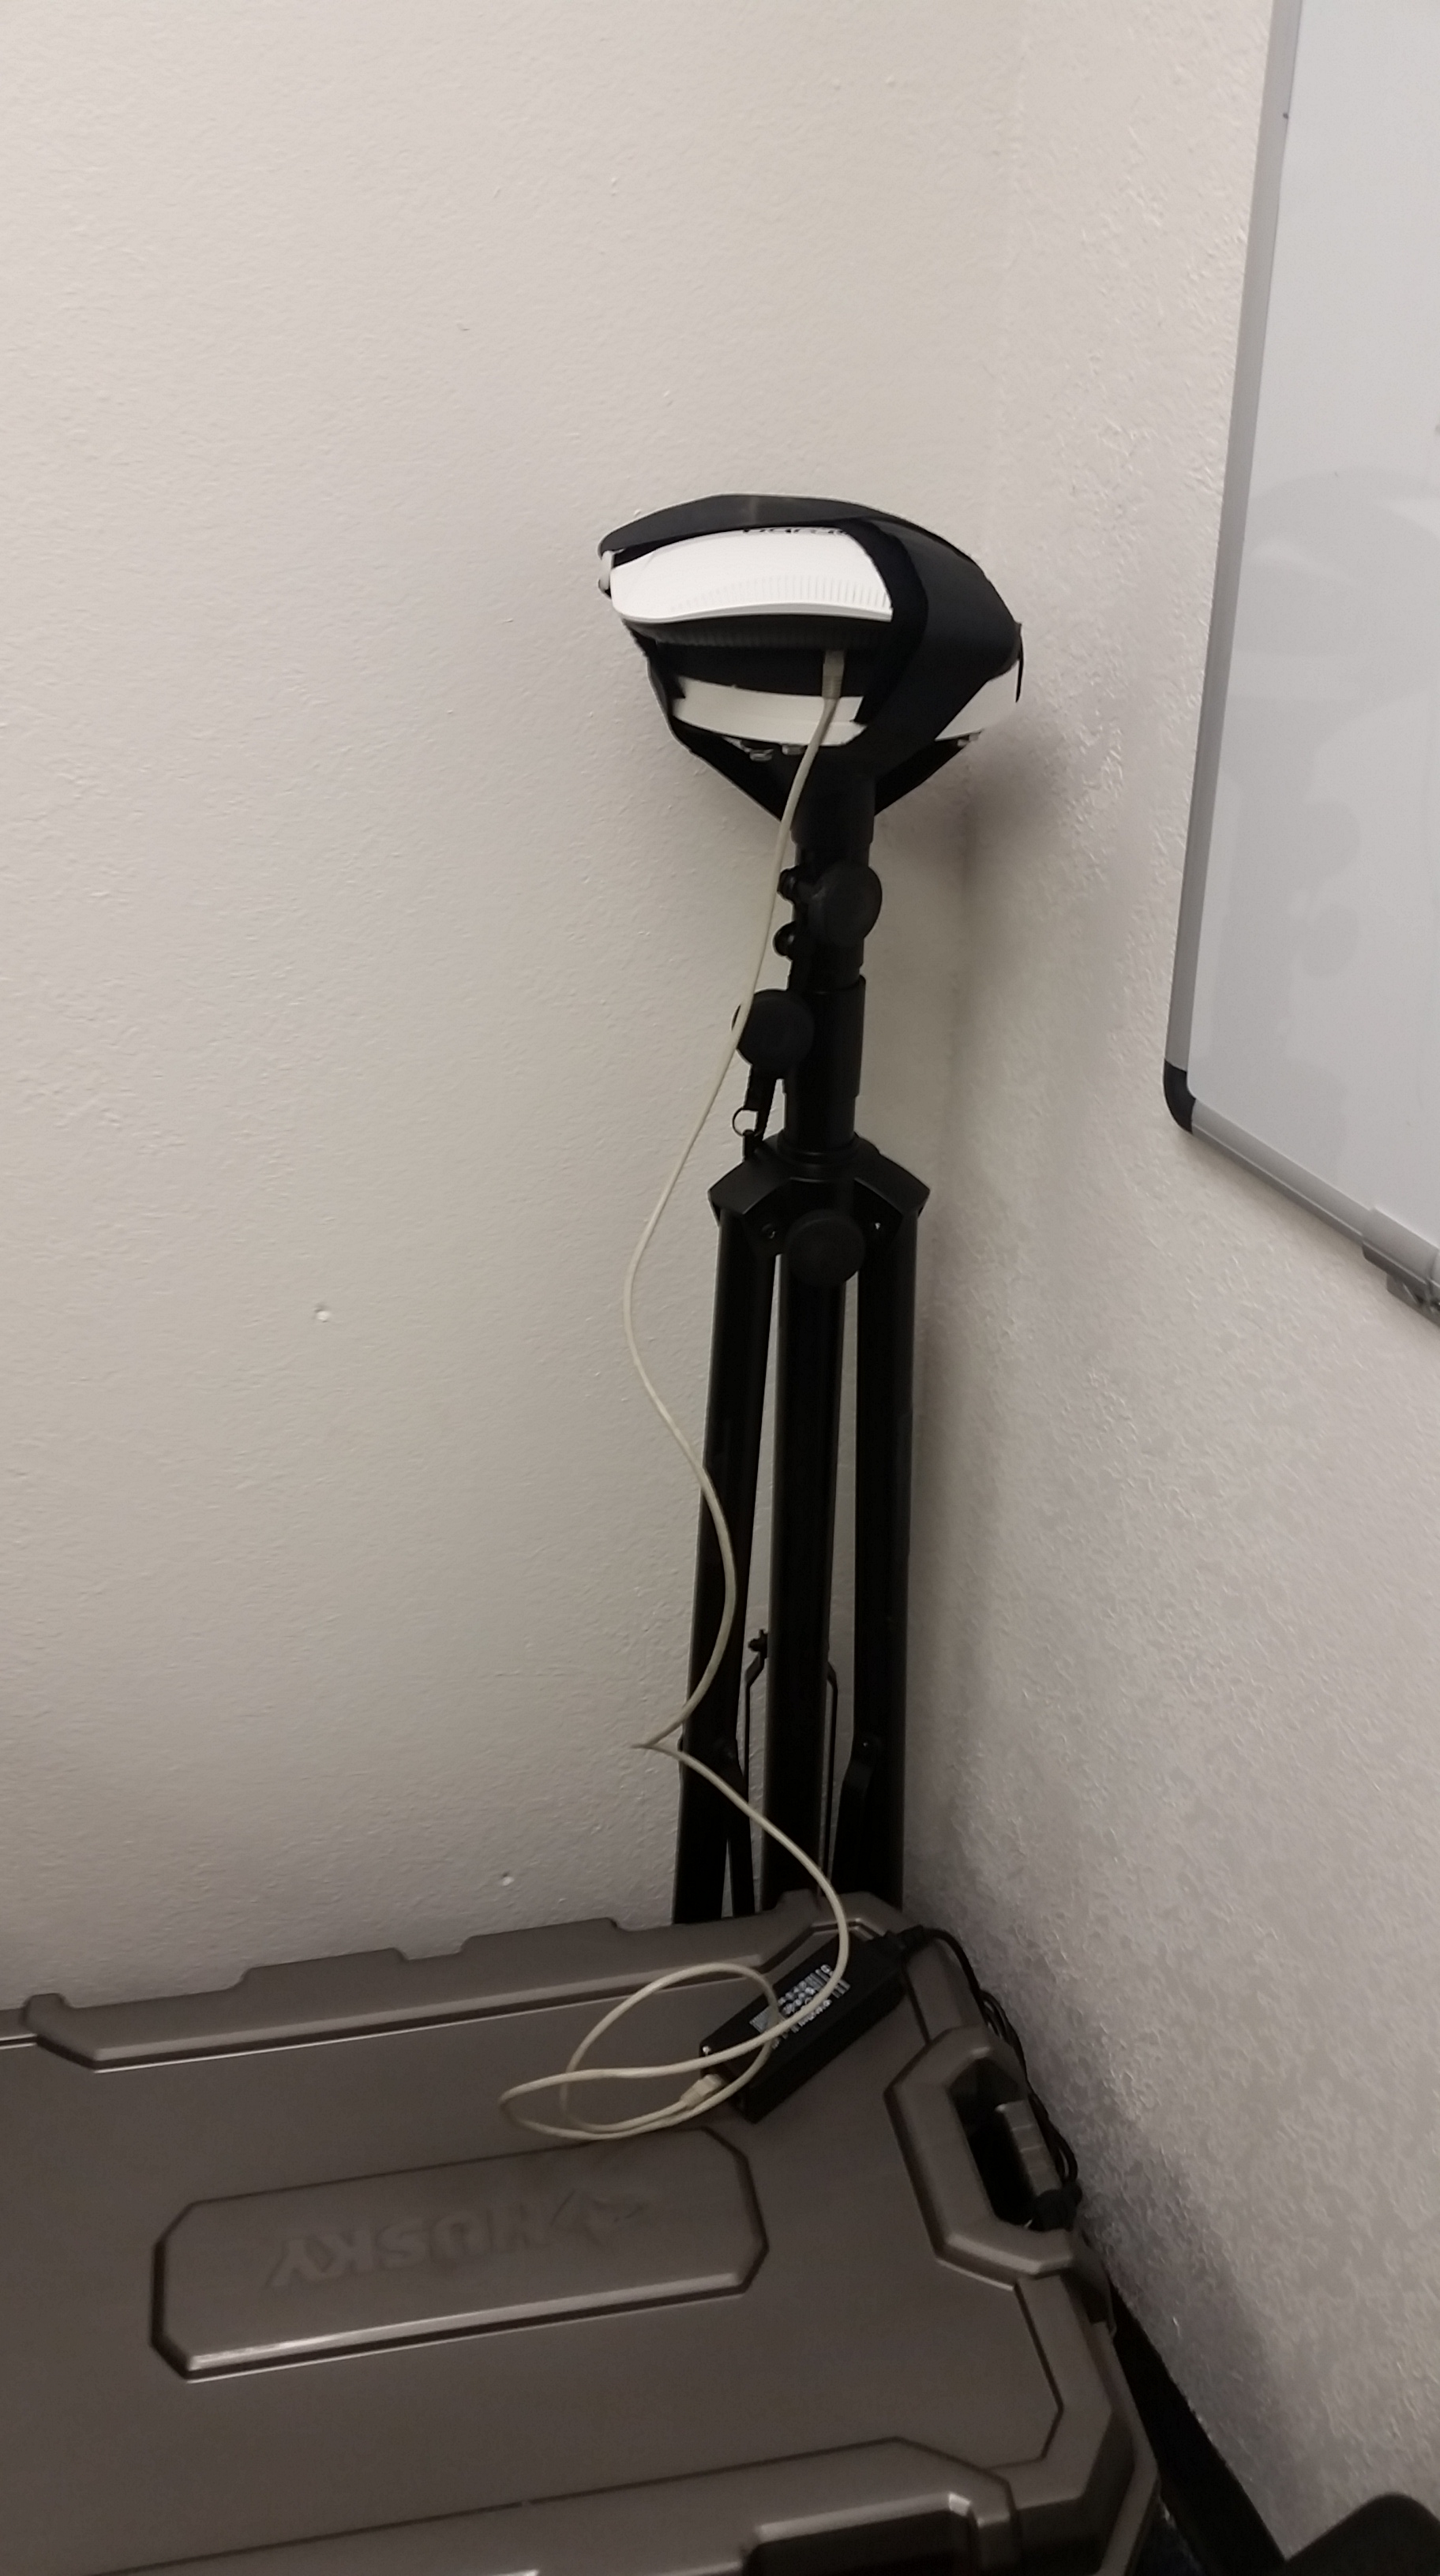
On a side note, I use a 10′ telescoping mast like this for my surveys:
Questions or comments? Leave them below and/or find me on twitter @mattbfrederick

Good detail. But I think Item 1 should be combined with Number 5 and the rest reordered. Also Item 9 says “the the SSID.”
LikeLike
Nice catch Ernie! I went ahead and removed step 1 completely and renumbered. Shouldn’t have been there. I had wrote that before thinking of the console part and forgot to go back. Thanks!
LikeLike
It does not work anymore starting with InstantOS 4.2. The “Disable SSID on uplink failure” option have been replaced by a new, larger set of options.
LikeLike
Thanks Simon, I will add a note at the top.
LikeLike
I’ve been testing this procedure last week running InstantOS 4.2.4.3 (Early Deployment) and it worked perfectly with IAP-275 and IAP-277. The “Disable SSID on uplink failure” have more option now but from the factory default config, these setting are disabled by default anyway.
Step 1 to 7 can be skip if you connect your IAP on a DHCP network (via PoE switchport or Injector) for the initial config. Once booted it will broadcast the “instant” SSID like step 8 and then from the GUI you can set your static IP for the Virtual Controller.
When you configure your SSID in the VLAN tab (step 13) I recommend to chose Virtual Controller assigned for the Client IP assignment and Default for the Client VLAN assignment. This way, when you do your survey, if you need to change a settings you just have to connect to your survey SSID and you can access the GUI via the default gateway IP of your wireless connection.
LikeLike